
This page is also available in: Deutsch
Since MacOS Catalina (10.15) iTunes is gone. If you don’t want to backup your iPhone or iPad to the Cloud, you have to use Finder for it. Unfortunately they still get saved to your small MacBook disk. Here I’ll show you how to save your iPhone Backups to any external hard drive.
You don’t want to use the terminal? Would like an easier solution? I created a small Mac App to reduce all steps to the click of a button. From now on you get my app for free.
With the following steps you can use any external hard disk as target for your iOS Backups. You could even use the share of your NAS.
Create Link
Just plug in your chosen hard drive or connect to your network share and create a directory with any name you like. e.g. “Backups iOS”.
Copy existing backups
To not lose any backups just copy existing ones to the new directory.
For that use the Finder menu “Go” -> “Go to Folder…” or just press “Cmd+Shift+G and enter the following path into the existing text field: “~/Library/Application Support/MobileSync”.

In this directory you will find “Backup”, which you just copy to the chosen target directory. Inside of this directory you can find on sub-directory for every device you saved to your Mac.
Access Permissions
To create a symbolic link from the backup directory to the external drive we need special permissions.
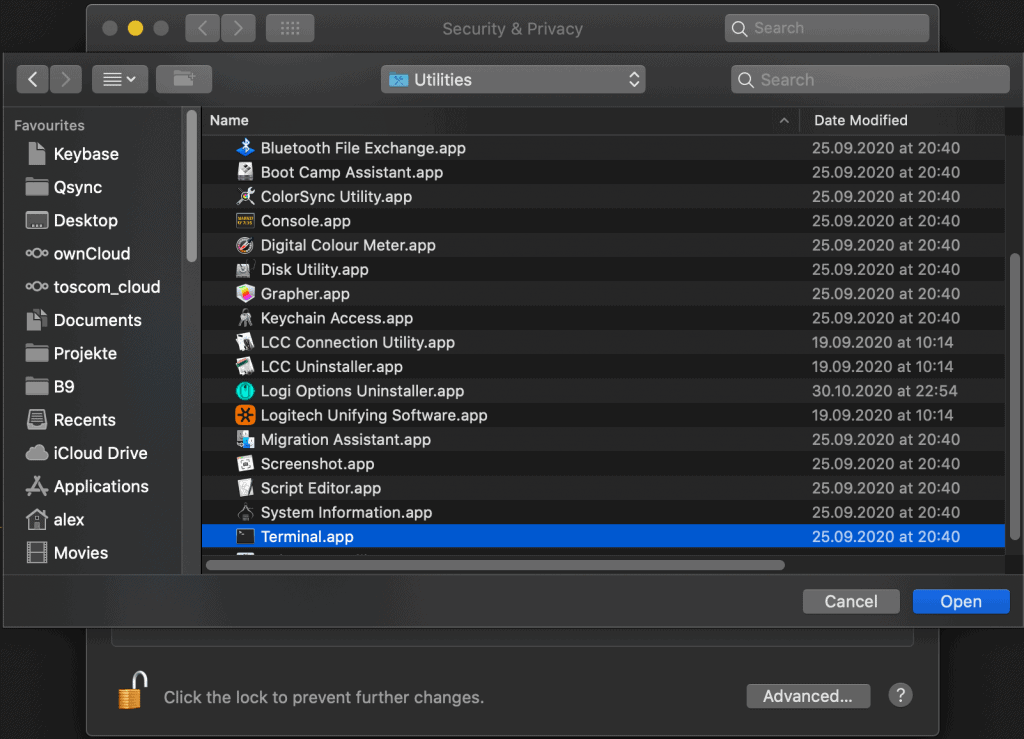
For this open the “system preferences” and click “Security & Privacy” -> “Privacy”.
-
Select the Element “Full Disk Access”.
Then click the lock symbol in the left bottom corner to unlock it.
Then use the small plus button to add the application “Terminal” to the list.
Make sure the checkbox is checked left to the “Terminal” Application.
Backup Link to external hard disk
Quickly make sure, that there isn’t currently a backup being created of your iOS device and then enter the following commands in Terminal.
WARNING: You have to change “EXTERNAL_DISK/Backups\ iOS” to the name of your disk and target directory.
Tip: Terminal can help you if you just write the first part
ln -s MobileSync /Volumes/
and then you press the Tab-key a few times to see the possible path names. If you then type the first letters of your disk name and press Tab again the name will be completed automatically. That helps especially with white spaces. Whitespaces must be preceeded with a “\” unless your whole path is written within quotes.
cd ~/Library/Application\ Support
mv MobileSync MobileSync.old
ln -s /Volumes/EXTERNAL_DISK/Backups\ iOS MobileSync
When you see error messages read the sections “WARNING” and “Tip” again or leave me a comment at the bottom of this page.
Now everything should be done and you should find a symbolic link inside “Application Support”. You can test it by just double clicking it like a normal folder.

Test
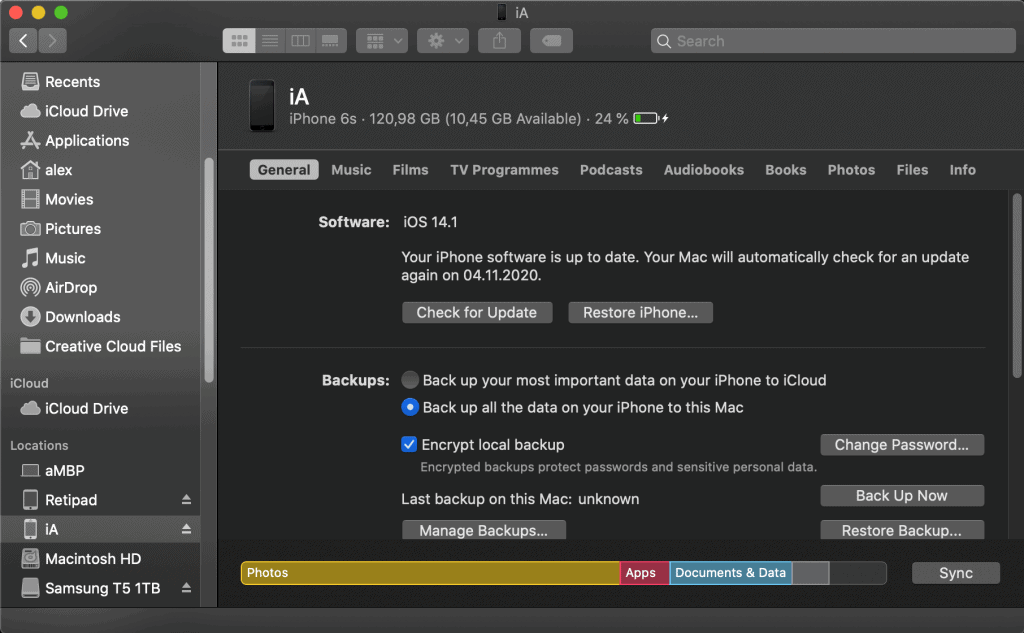
Finally just plug in your iPhone and start a backup in Finder.
If you don’t see your iPhone in the Finder sidebar you can make it show up using the Finder Preferences. (shortcut cmd+”,”)
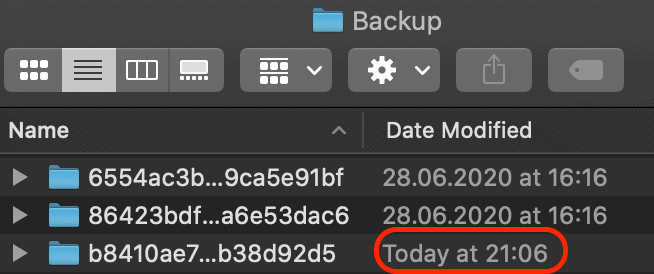
If you want to really make sure that the backup was made to the right place you can check the modification time of the backup inside the “Backup” directory of the external hard drive.
Clean up
If everything worked you can now delete the “MobileSync.old” directory on your local drive to finally free up space.
Make it easy with my app
As I mentioned above you can make it easier for yourself. With my Mac App you can reduce all explained steps to a click of a button.
Thank you
I am happy about any comments below if my carefully written article has helped you.
If you want to help me getting more time to write such articles you can also send me any amount you want using paypal paypal.me/deralexat
Or maybe you are interested in my iPhone App, that helps me define my goals and build routines that make me stick to my goal:
Free up more space
If you want to clean up even more space on your disk you could take a look at my other article about the App CleanMyMac, which I myself am using regularely since a few years to clean up unneeded files from my disk or find big files and folders.
This page is also available in: Deutsch